Synchronising files on MacOS
How to install and configure the Nextcloud sync client on MacOS
Setting up the sync client on Mac OS X 10.7 or higher:
-
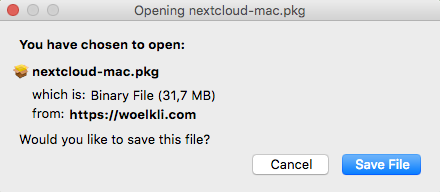
Download the latest Nextcloud sync client for MacOS.
Select Save file.
-
Double-click on the downloaded file to start the installer. In older versions of Mac OS X, you may need to drag-and-drop the Nextcloud icon onto the Applications icon for the installation to start.
-
On the first window that appears, click on Continue.

-
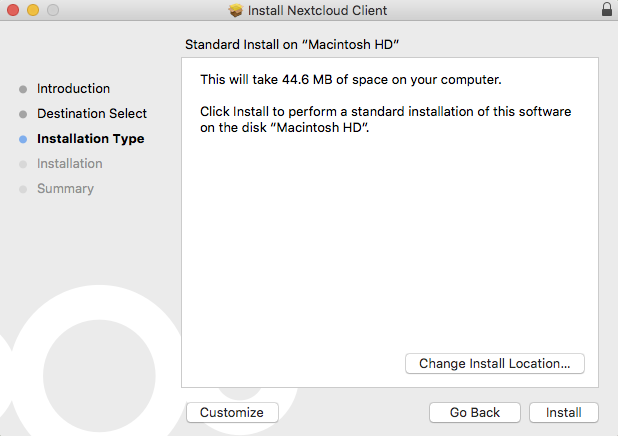
If you have more than one hard drives or hard drive partitions, you will be asked to choose on which one you would like to install the software. When you have made your choice, click Continue.

-
Click Install.
-
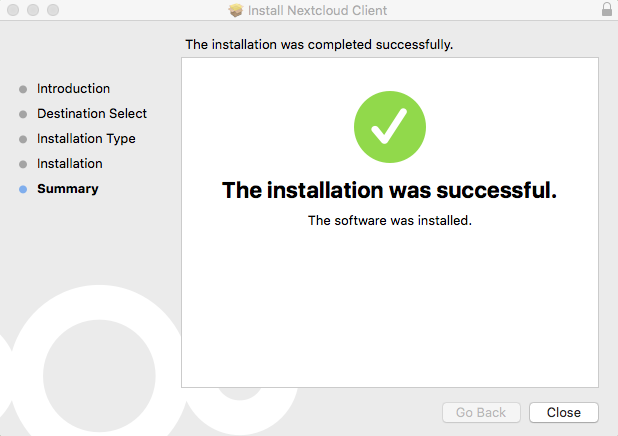
The installation is now complete. Close the installer by clicking Close and open the Nextcloud application.
-
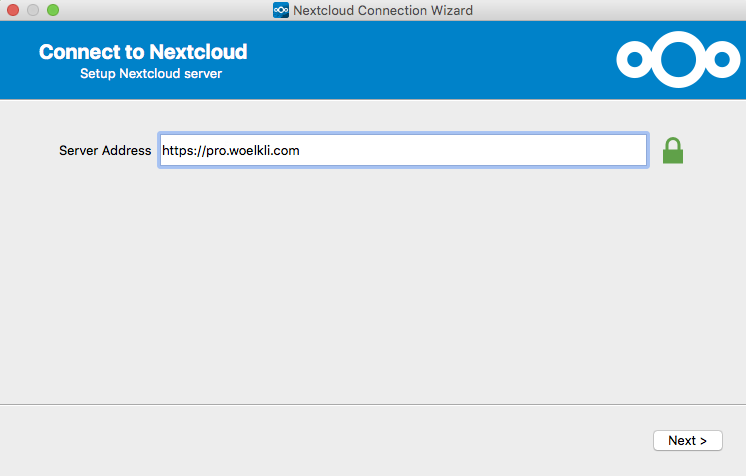
In the Server Address field, type https://pro.woelkli.com/, as shown in the following screenshot.
Note: If you are a wölkli FREE user, then you will need to use the following as the server address: https://cloud.woelkli.com/.
-
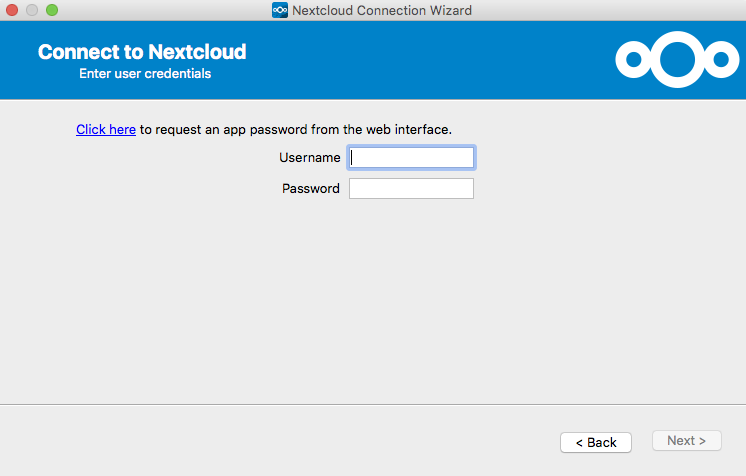
Provide your user name and password; these are the same as the ones you use when you log in on wölkli's web interface.
-
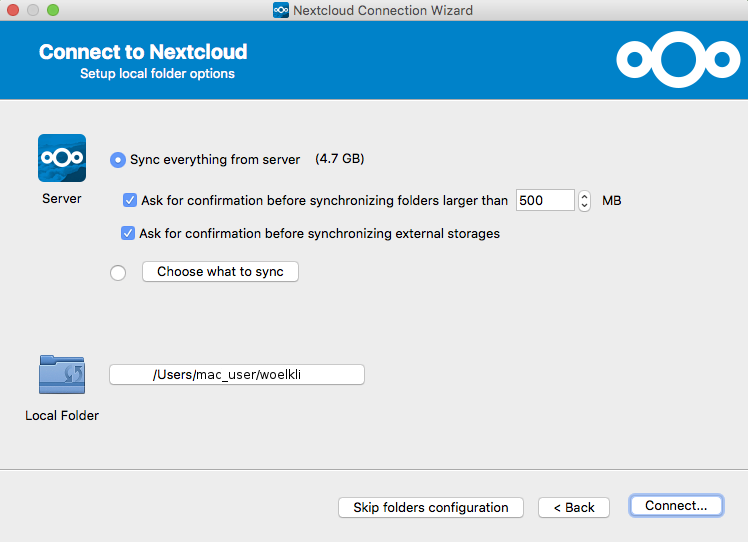
Now choose the local folder, which will be synchronised by wölkli.
-
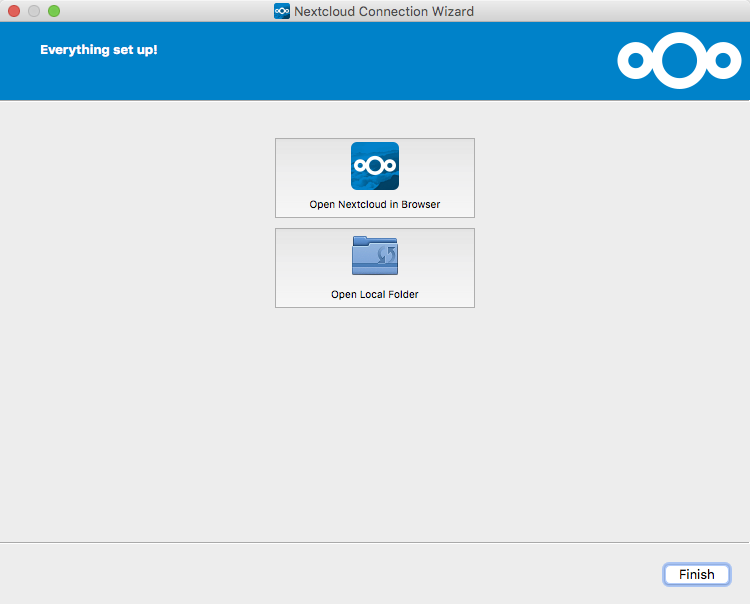
You may now launch the sync client for additional settings, open your local synchronised folder or simply close the configuration window by clicking Finish.