Synchronising files on Windows

How to install and configure the Nextcloud sync client on Windows

For Windows XP, Vista, 7, 8 and 10

  1. Download the latest Nextcloud sync client for Windows.
    Choose Run.
  2. When the installation wizard appears, click Next.
  3. Choose the components you wish to install. Then click Next.
  4. Choose the location, where you want the application to be installed and click on Install.
  5. Once the installation is complete, click Next.
  6. Make sure the Run Nextcloud box is checked and then click on Finish.
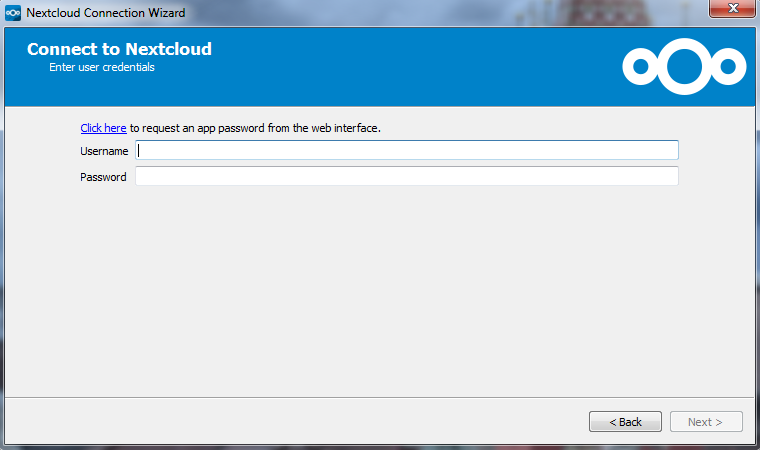
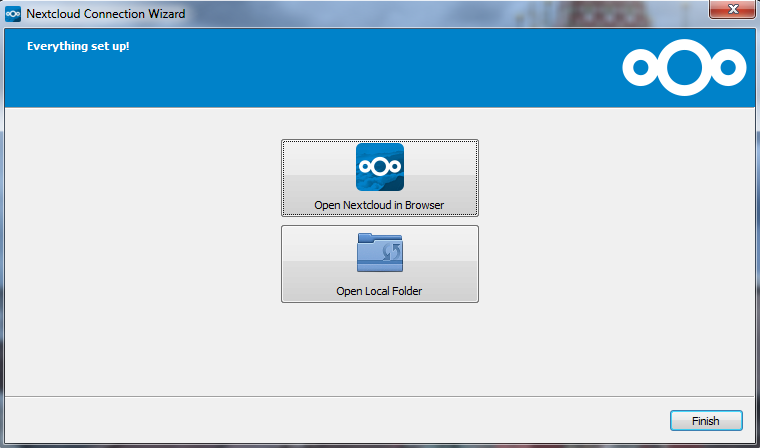
  7. The sync client should now open.
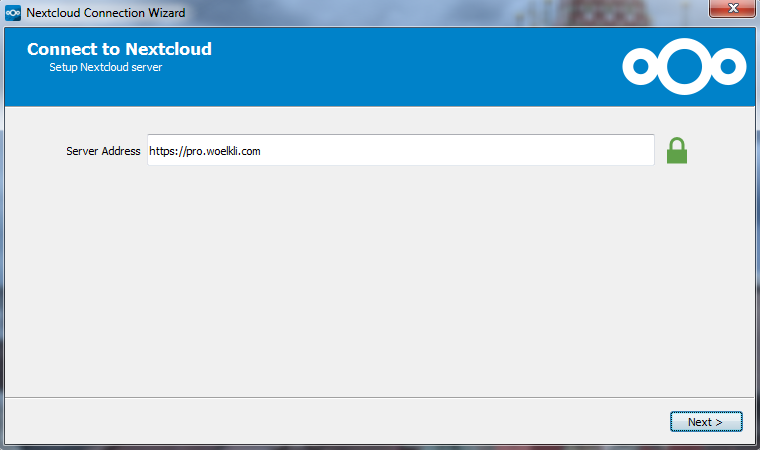
    In the Server Address field, type https://pro.woelkli.com/, as shown in the following screenshot.
    Note: If you are a wölkli FREE user, then you will need to use the following as the server address: https://cloud.woelkli.com/.

    Note: If this window does not open automatically, you can manually open it by showing the icons in the notification area of your task bar and clicking on the Nextcloud icon.

  8. Under Account, provide your user name and password; these are the same as the ones you use when you log in on wölkli's web interface.
  9. Now choose the local folder, which will be synchronised by wölkli.
  10. You may now launch the sync client for additional settings or open your local synchronised folder.