Synchronising calendars and address books in Thunderbird
How to synchronise your calendar using Thunderbird
-
Open your web browser and sign in on wölkli's web interface (wölkli PRO | wölkli FREE) using the provided form.
-
Select the Calendar icon from the list on the top left of your web browser.
-
Click on the three-dots icon next to the calendar that you wish to synchronise, e.g. 'Personal'.
-
Select and copy the address from the field that appears under the calendar, as shown in the following screenshot:
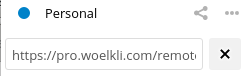 The address looks something like this: 'https://pro.woelkli.com/remote.php/dav/calendars/username/calendar_name' ('https://cloud.woelkli.com/remote.php/dav/calendars/username/calendar_name' for wölkli FREE users), where username is the e-mail address that you use to log in on wölkli's web interface, but with %40 instead of the @ symbol and calendar_name is the name of your calendar.
-
Open Thunderbird.
-
If you do not have a calendar yet, select New Message and then Calendar... from the main menu, otherwise choose and edit your existing calendar.
Note: If the option Calendar... does not appear, you may need to install the extension 'thunderbird-lightning'.
-
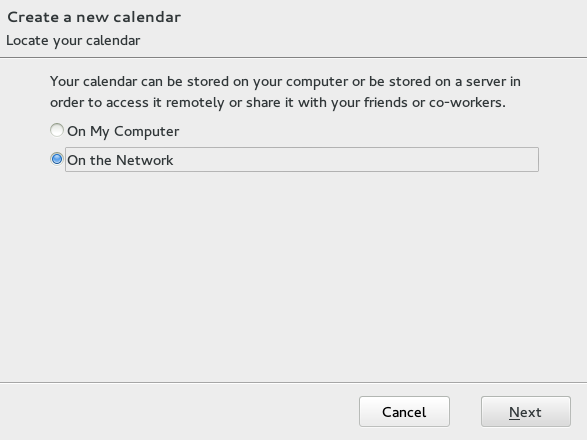
In the dialogue that appears choose on the network.
-
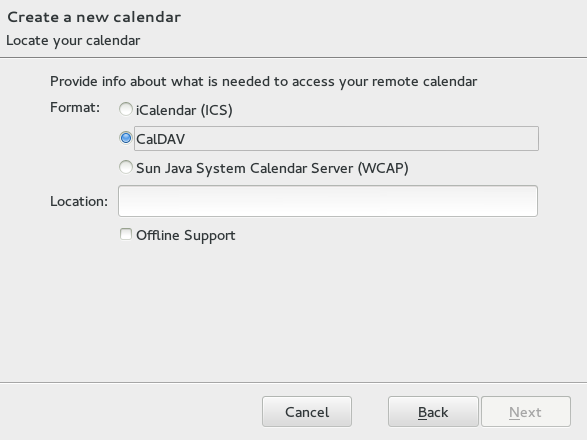
Select CalDAV and optionally tick the box Offline Support, then paste inside the Location field the address that you previously copied.
-
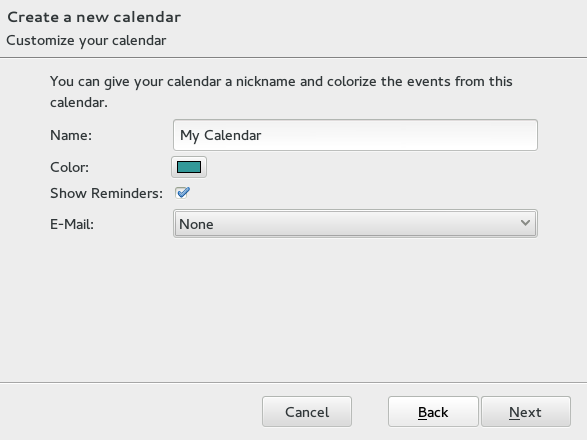
Choose a name and colour for your calendar, if you wish.
-
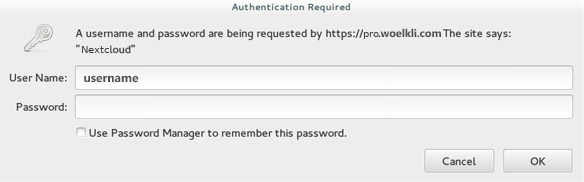
Type in your user name and password when prompted, then click on Finish.
-
Your calendar is now set up and in sync!
How to synchronise your address book using Thunderbird
-
Open your web browser and sign in on wölkli's web interface (wölkli PRO | wölkli FREE) using the provided form.
-
Select the Contacts icon from the list on the top left of your web browser.
-
Click on the gear icon at the bottom left of your screen to open the settings.

-
Click on the chain icon next to the address book that you wish to synchronise. In the field that appears, select and copy the address, as shown in the following screenshot:
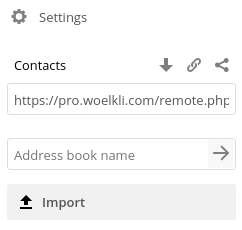 The address looks something like this: 'https://pro.woelkli.com/remote.php/dav/addressbooks/users/username/addressbook_name' ('https://cloud.woelkli.com/remote.php/dav/addressbooks/users/username/addressbook_name' for wölkli FREE users), where username is the e-mail address that you use to log in on wölkli's web interface, but with %40 instead of the @ symbol and addressbook_name is the name of your address book.
-
Open Thunderbird and go to Tools, Address book.
-
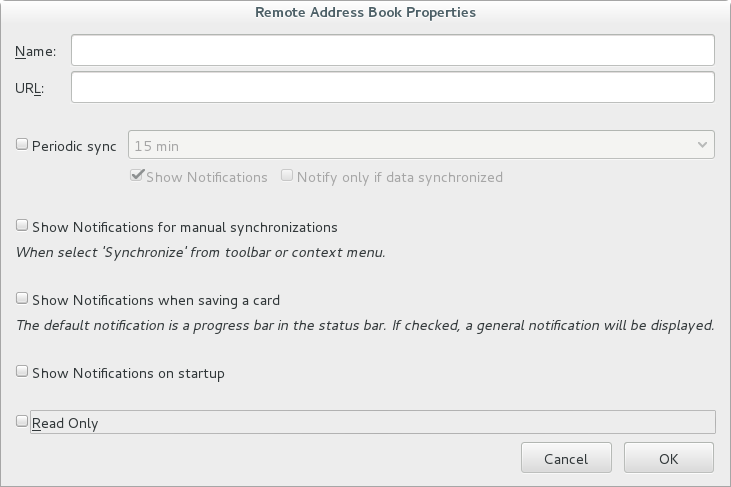
If you do not have an address book yet, you can create one by going to File, New and then choose Remote Address Book.
Note: If this option is not available, then you may need to install the 'Inverse SOGo Connector' by following the extension's instructions.
-
Enter a name for your new address book, then in the URL field paste the address that you previously copied from wölkli's web interface (steps 1 through 4 of this guide) and click OK.
-
When prompted, enter your user name and password, then click on OK.

-
Your address book is now set up and in sync!
